
Preventative maintenance is something that most people think applies to the daily driver. However, it can be just as critical with virtually any type of race car, potentially making the difference between a win and a DNF, as well as expensive repair costs. Checking valve lash, changing engine oil, performing leak down tests, inspecting brakes and suspension components, cleaning fuel filters, servicing transmissions and differentials, etc. should all be part of a preventative maintenance program. But there is one check that many racers overlook: Periodic oil filter inspections should be on the list, as well.
Typically performed during an oil change or anytime engine condition or performance is in question, oil filter inspection can also serve as a great troubleshooting aid when performance issues arise. Oil filter inspection begins by simply removing the filter from the engine, placing it in a pan and letting it drain for 10-15 minutes prior to being cut open.
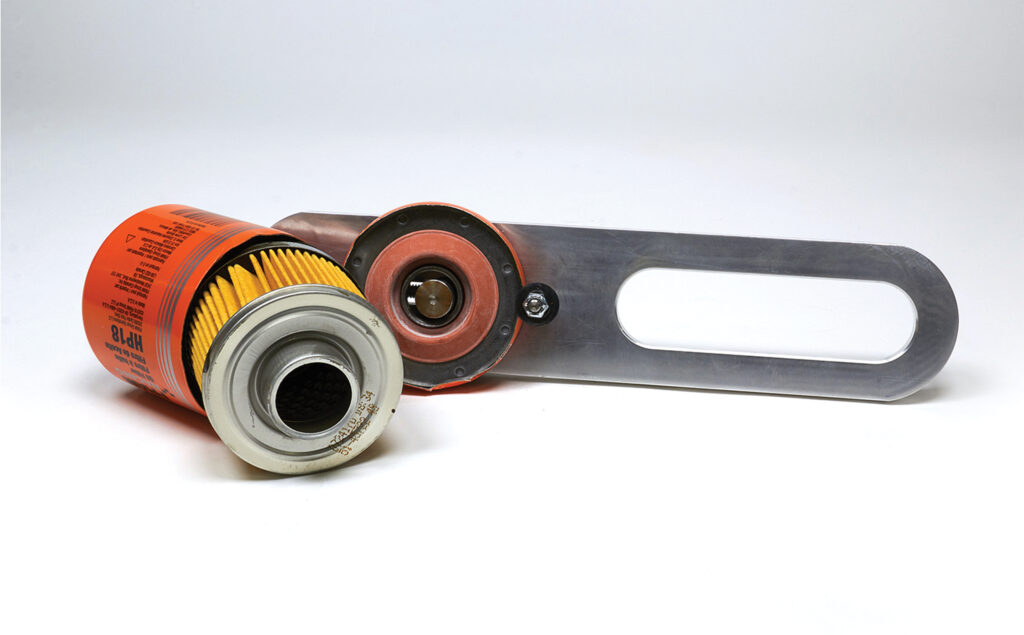
To cut the housing of the filter, the use of an Oil Filter Cutter tool, available from a number of manufacturers including Allstar Performance, Kluhsman Racing Components, QuickCar, ProForm, and Longacre, is highly recommended. While it may be tempting to grab a hacksaw, it’s best to use a specialized tool since it provides a clean cut, similar to a can opener, without creating metal debris that may be confused with engine wear.
The process for using the filter cutting tool may vary, depending on the brand tool you are using and whether you have a vise available. The following instructions are just one approach; please refer to the instructions included with your cutting tool. When cutting the filter, it’s helpful to clamp the tool in a vise. Proceed by placing the filter in the center of the tool, gasket side down, so that the cutter aligns with the outside of the filter housing. A drain pan should be placed below to catch all residual oil. Continue by tightening the cutting blade, while slowly turning the filter until it begins to cut all the way around the filter housing.
Once the housing has been cut completely open, remove the filter element. Then use a utility knife to carefully cut the end caps off the element so that the “pressure side” of each pleat can be examined for debris. Keep in mind that all things mechanical will wear over time, and that there will always be a few tiny pieces of bearing material, silicone sealer, etc. lodged in the element. Most debris caused by normal engine wear found is typically no bigger than the tip of a pencil lead. If the engine has just been rebuilt, you may expect to find a generous amount of assembly lubricant in the filter, as well. Again, no cause for concern.
On the other hand, if the pleats contain a significant amount of what appears to be bearing material or other metal fragments, further investigation may be in order. A magnet may be used to help determine the material (steel or aluminum) and its origin. Removing the oil pan and inspecting the bearings then becomes the next logical step.