
Nothing beats the exhilaration associated with pushing the starter button of a race car, flicking the ignition switch, and hearing a healthy, unmuffled engine come to life, yet wiring the circuits that make it all happen is rarely looked at as an enjoyable task. “Unfortunately, the wiring is the last thing that most people do and it’s often done at the last minute,” says Danny Knowles of QuickCar Racing Products. Knowles states that wiring a car, however, is certainly no less important than any other phase of the car building process.
While a properly wired car is often taken for granted, a poorly wired one can create a myriad of problems, including malfunctioning electrical accessories, a misfiring engine, or even a fire. Cars that have been subjected to perpetual changes in the electrical system can also become susceptible as well. It’s inevitable that a racer may add accessories such as a trans-brake, nitrous functions, or a brake shut-off, for example, and if the installation was done in haste, the underside of the dash may have become a virtual rat’s nest of wiring. While it’s not uncommon for some cars to need a general “clean-up” to repair a poorly wired circuit or two, worst case scenarios may require a complete re-wire.
Whether the car is undergoing a complete re-wire or is a new build undergoing construction, a bit of planning should be performed prior to jumping into the project. Begin by determining how many accessories the car will require other than the basic ignition and start functions, and whether it will require a master disconnect switch.
The first step should involve installing the battery cables. Fine-stranded welding-style cable with a minimum of 4-gauge thickness works best. Applications that are subject to heavy electrical loads, such as those using 16-volt batteries, should instead employ 2- or 0-gauge cable. Some wiring professionals substitute a length of rope to first determine proper cable length. After the cable has been cut to the desired length, ring terminals may be crimped and soldered on each end, and then sealed with heat shrink prior to installation.
If a master disconnect switch is required by the particular sanctioning body, it should be installed and wired in at this time as well. Disconnect switches, available from vendors including Allstar Performance, QuickCar Racing, Moroso, and Longacre, provide track safety personnel a way to quickly shut down the car’s electrical system in the event of an accident or on-track mishap.

Following the cutting and termination of the ground cable, it should be run directly from the battery to the engine block or frame. If the ground is connected to the frame in a trunk-mounted battery application, for example, a ground should also be run from the engine block to the frame. It is very important that the contact surfaces of grounds are clean and free of corrosion or paint. According to Knowles, “poor grounds or insufficient grounds are among the most common sources of electrical problems”.
After cables have been connected to the battery, starter, and master disconnect, the next phase should involve installation of an ignition panel. It’s best to choose a panel that includes an extra switch or two in the event that other accessories may be added at a later date. A panel with built-in fuses or circuit breakers can also be used to simplify wiring, eliminating the need for a separate fuse block in many cases. Allstar Performance, QuickCar, Moroso, Longacre, and Painless offer a variety of quality ignition panels. The process may be simplified further by purchasing a wiring harness from QuickCar Racing that includes a direct plug-in to their ignition panels.
The ignition panel should be mounted in the dashboard or overhead so that it is within easy reach of the driver, even with the belts cinched up. Stretching just to reach an accessory switch should be the last thing the driver needs to worry about. All wire terminals should be crimped, soldered, and sealed with heat shrink prior to connection. Wires may be terminated using a professional crimping tool, such as the QuickCar 50-395.
Knowles adds that during the soldering process, “it is important not to overheat the wire or oversaturate the terminal with solder,” as these practices can cause the wire and terminals to become brittle and prone to breakage. Grommets, available from vendors including Allstar, Seals-It, or Mr. Gasket, should be used any place wiring passes through sheet metal, preventing the possibility of short circuits. Wiring may be secured using plastic clamps or nylon tie wraps.
It may be desirable to install a gauge panel at this time as well. The panel should be installed so that it is in full view of the driver, typically in close proximity to the ignition panel. All sending unit, power lead, and ground wiring should be terminated prior to installation to ensure secure connections.
When wiring and connecting accessories, it’s important to size the wire correctly, according to the manufacturer’s recommendations. Circuits that carry heavy loads, such as electric fans, fuel pumps, and water pumps, should each
include a relay, offered by manufacturers including Mr. Gasket, Painless, or SPAL. A relay’s purpose is to provide constant voltage to the accessory, offering protection from voltage or amperage spikes, while preventing back feeding, all of which can result in an overloaded circuit and blown fuse. Applications requiring multiple relays would be best fitted with a Relay Block Kit from Painless.
Wiring should be color-coded to make it easier to trace wires when troubleshooting or making repairs. Accessories that require periodic disconnection may be equipped with Weatherpack or Deutsch connectors. Deutsch connectors utilize large, durable pins, making them better suited to components that are frequently disconnected, according to Knowles. QuickCar offers kits for both Weatherpack and Deutsch connectors.
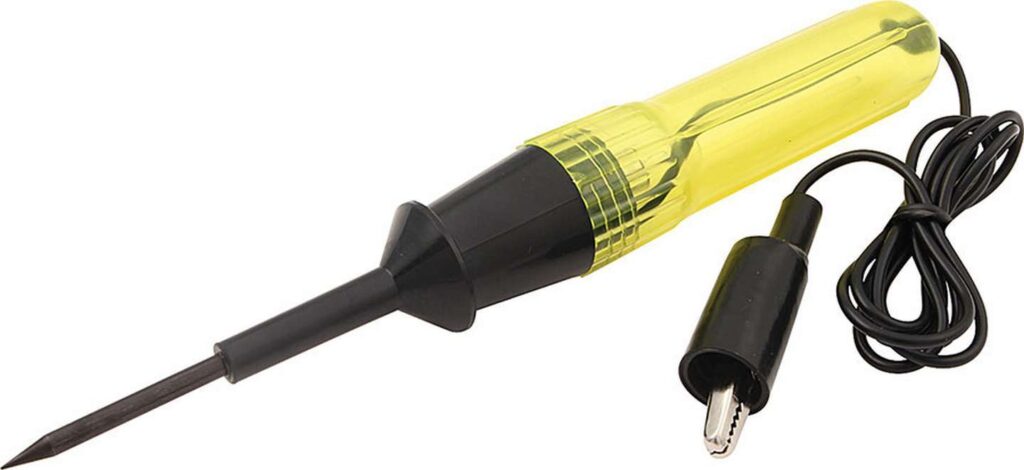
Once all wiring has been completed, fire the engine and activate each accessory to verify that they function correctly. If an accessory does not work, begin by checking the fuse, then determine whether it is getting power at the accessory, and finally, ensure that it is properly grounded. A 12-volt test light (Allstar Performance 76215) can simplify the troubleshooting process.
While wiring a race car may be a task enjoyed only by a select few, the fact remains that combining quality products with a sound installation will ensure that the vehicle’s electrical system remains dependable for years to come.